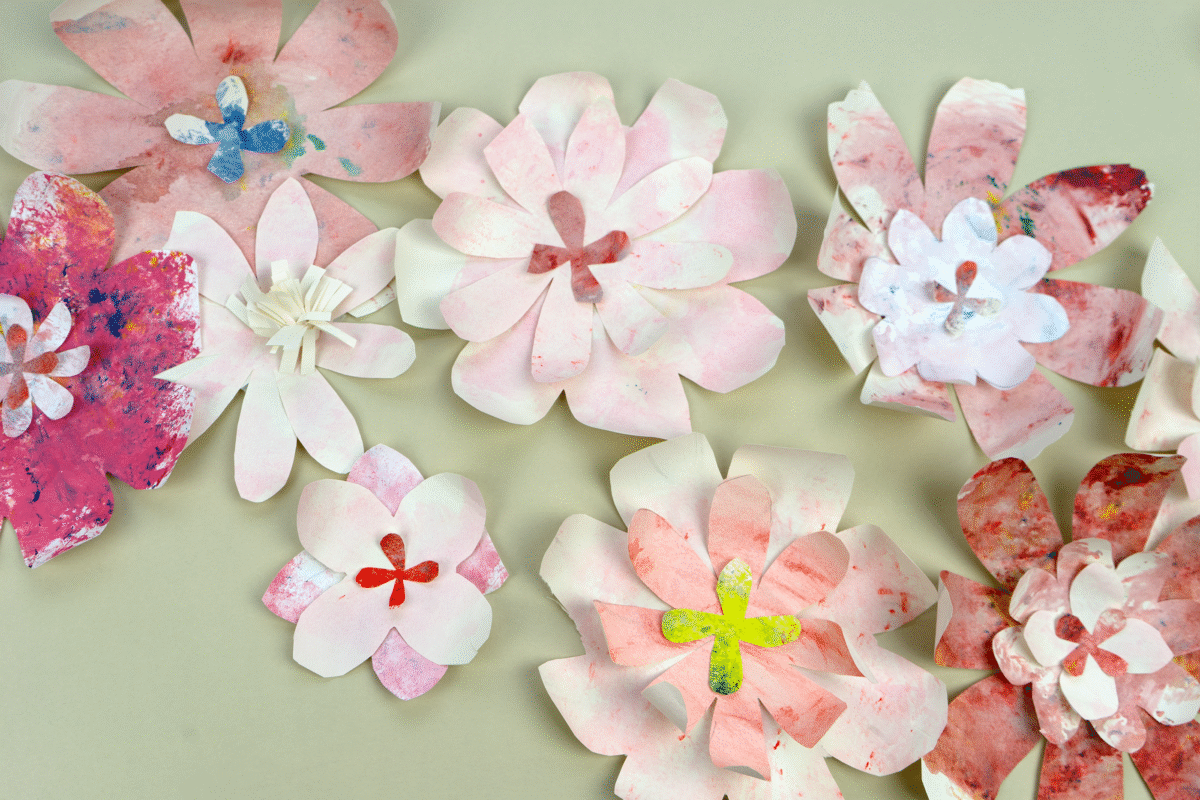
Hand-Painted Flower Decorations: A Perfectly Imperfect Party Decor
Are you looking for a way to decorate for a party that feels personal, beautiful, and full of love? We recently made these hand-painted flower decorations for Grandma’s big birthday celebration, and they turned out so pretty. I’m so excited to share with you.
When we were planning decorations, we knew we wanted to include flowers in pink and purple—her favorite colors. We browsed online, but nothing felt quite right. The cheap faux flowers just didn’t have that personal touch.
That’s when I thought: what if we made our own? This simple, thoughtful DIY turned out to be the perfect solution. It gave the kids a chance to create something for Grandma with their own hands, and that made it all the more meaningful.
Tools and Materials
•Roll of paper- I used this IKEA paper roll
•Acrylic or watercolor Paint
•Scissors
•Glue (I swear by this glue)
•Wall hanging Stickers-if you choose to hang it up
•Printer & paper (any black & white printer and Letter sized papers will do)
•Flower Template
Step 1: Paint the Paper
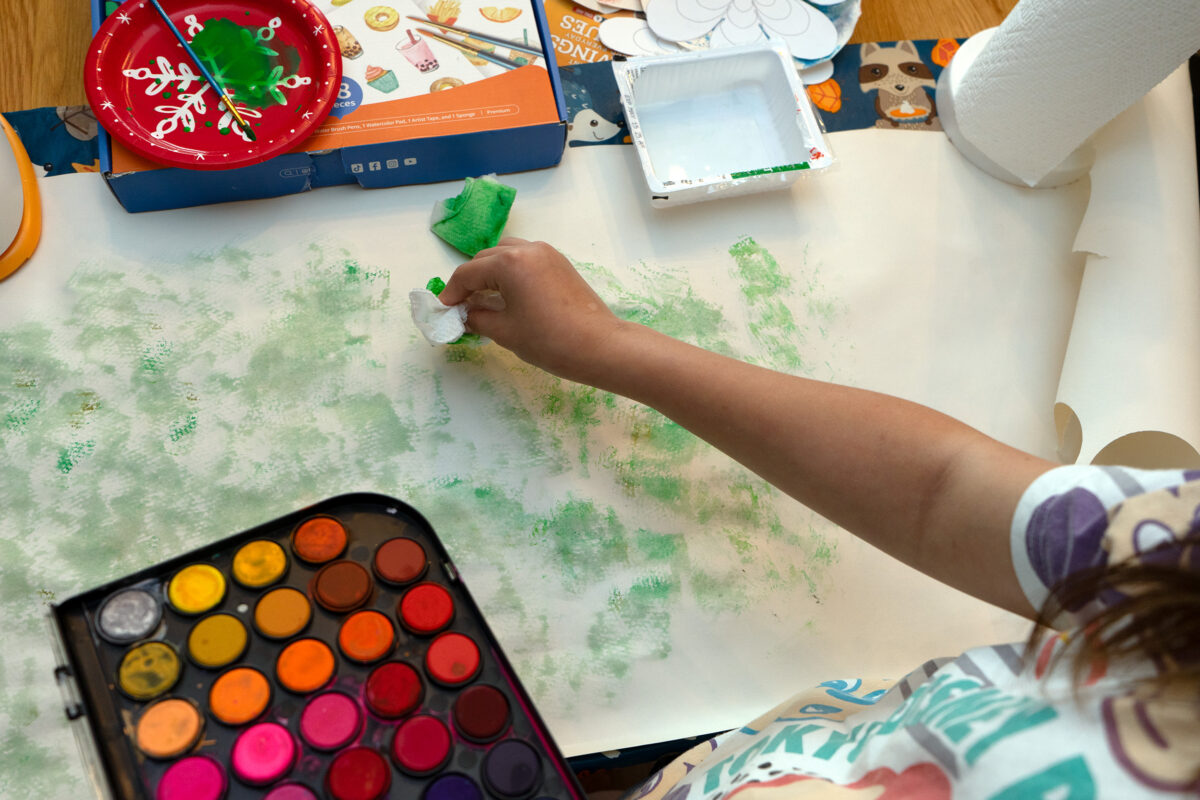
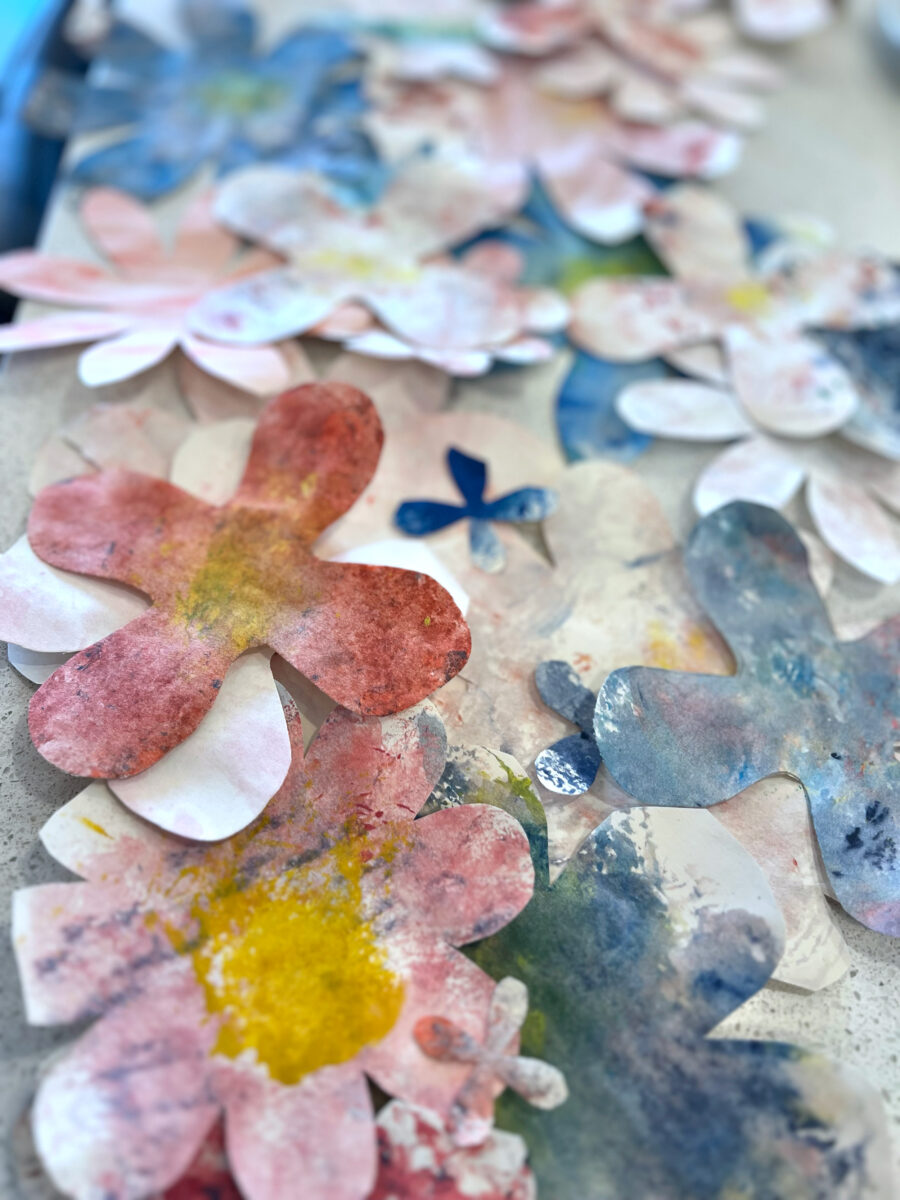
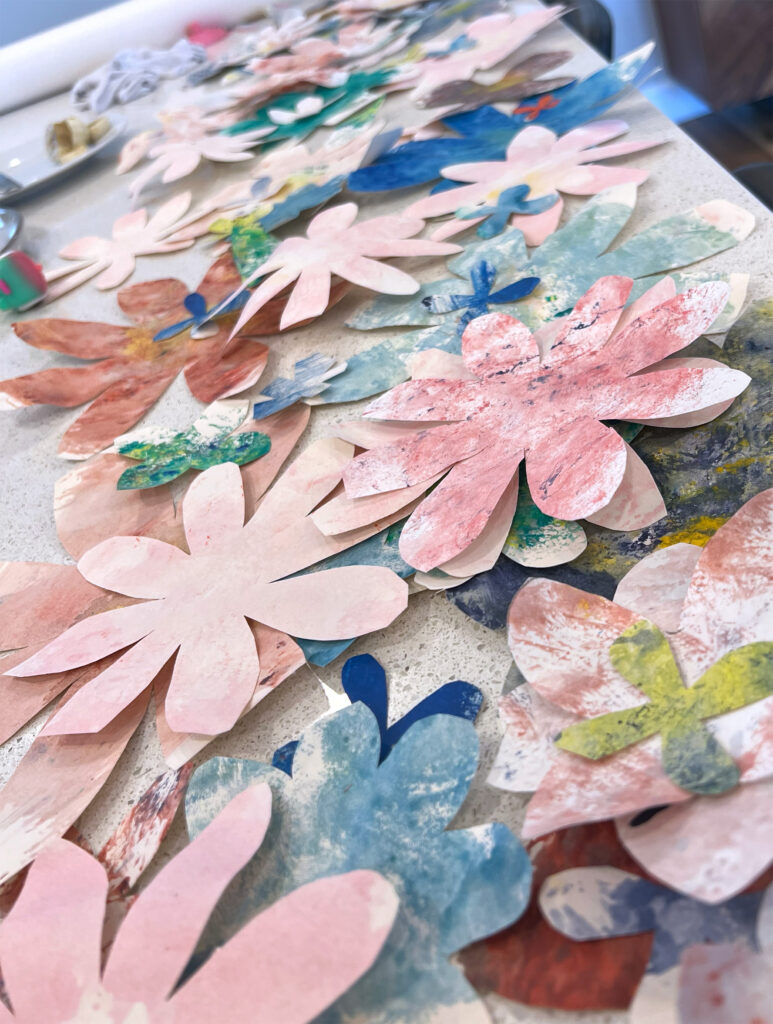
We started by painting large sheets of paper with acrylics and watercolors. I really kept emphasizing to the kids to not make it perfect. — just dabbing, swiping, and uneven textures and colors was what I was going for.
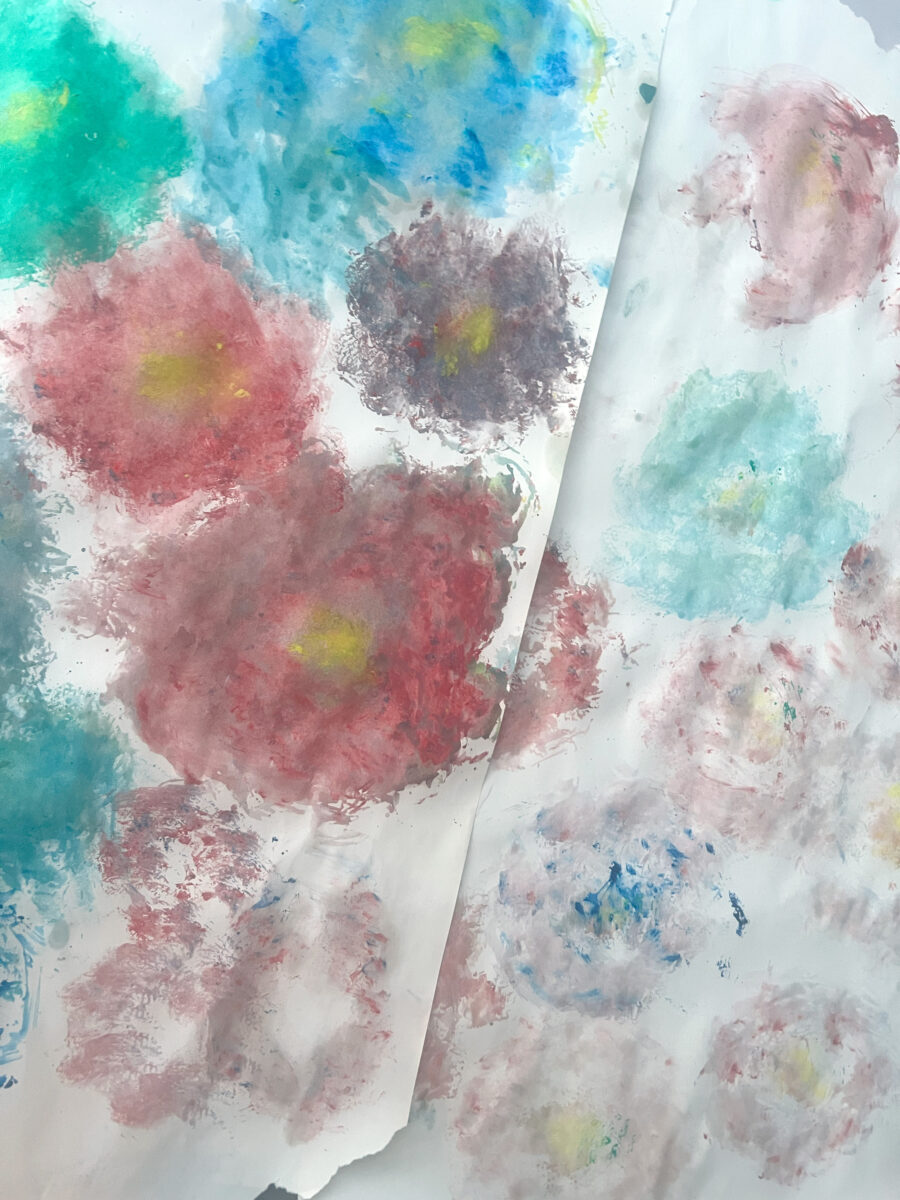
To add extra texture, we blotted the paint with paper towels, which left behind soft ridges and unexpected patterns. It gave the flowers a crafted organic feel that you can’t find in store bought or machine cut paper flowers.
We used lots of pinks and purples (Grandma’s favorite), plus a few soft greens for the leaves. Kids ended up sneaking in some random colors, but in the end, the added character made it just perfect.
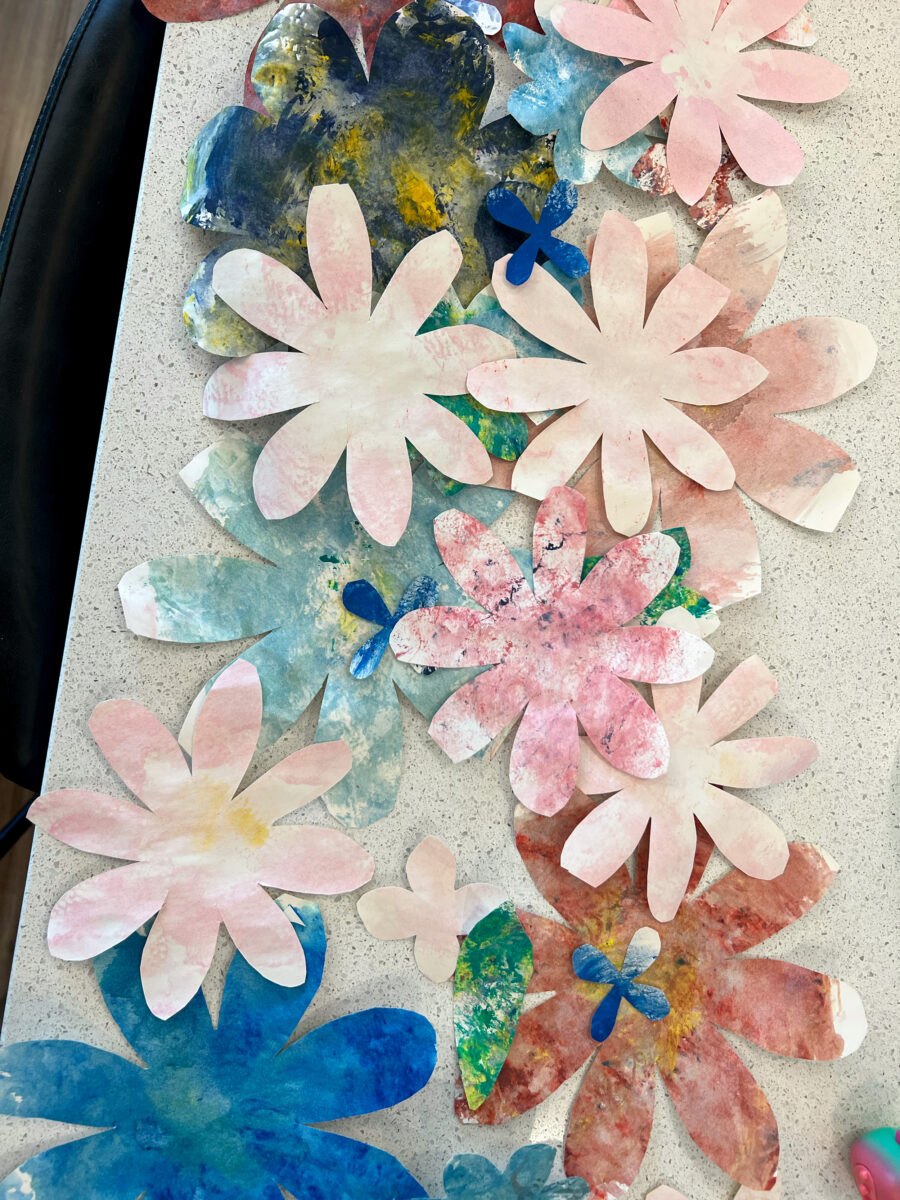
Step 2: Cut out the flowers
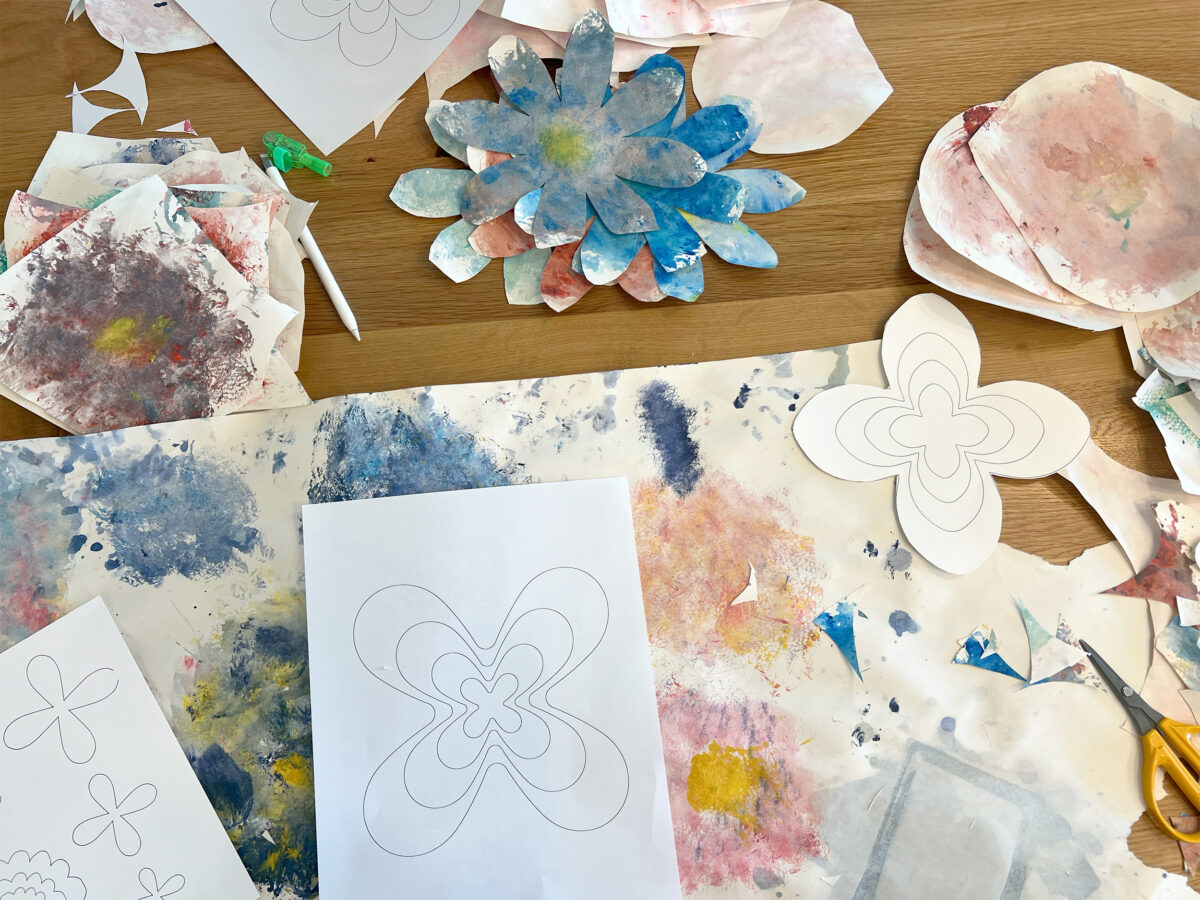
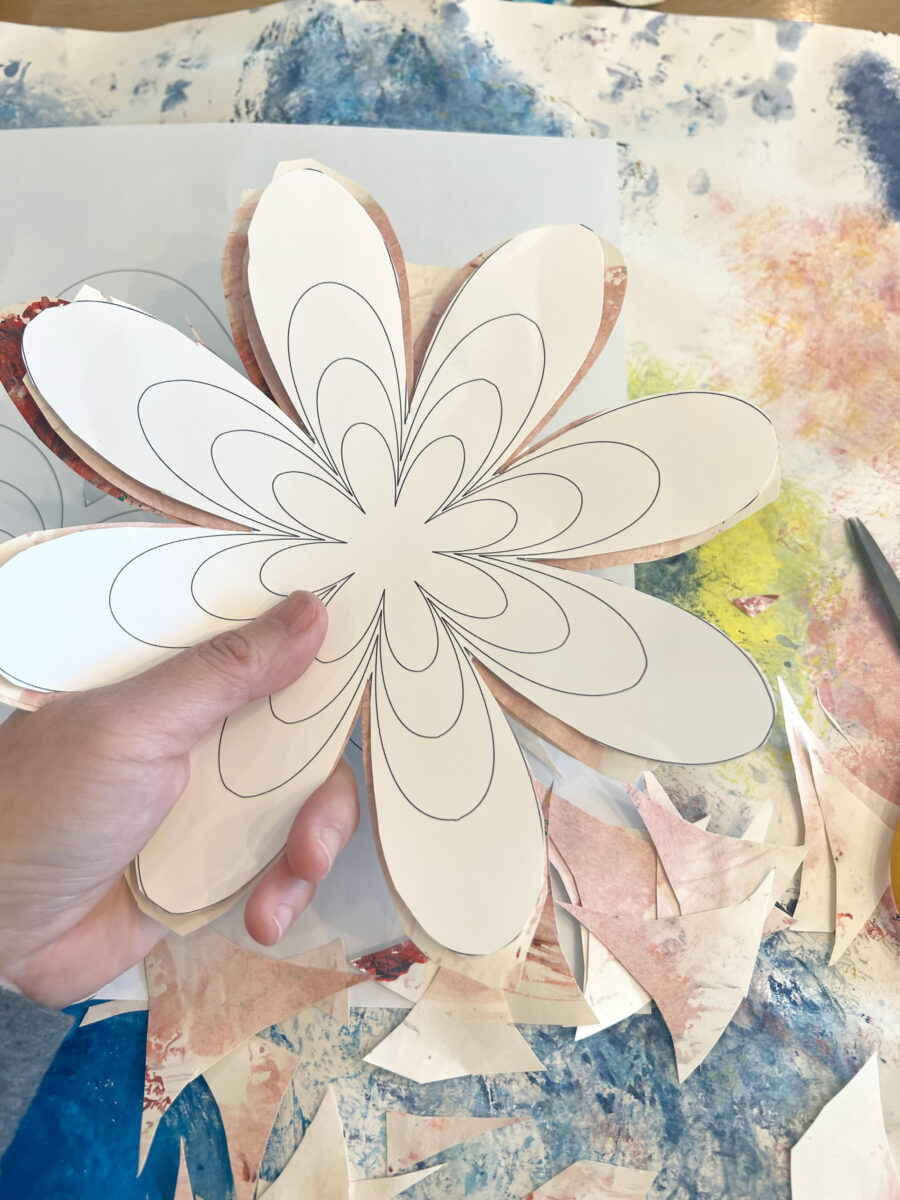
Once the paint was dry, I used these templates I made to cut out flower shapes. You can either trace the shapes, or just hold the cut out template on top and cut around it. Again, it doesn’t have to be perfect. If some flowers were missing some parts, it really doesn’t matter, because it just adds to the charm.
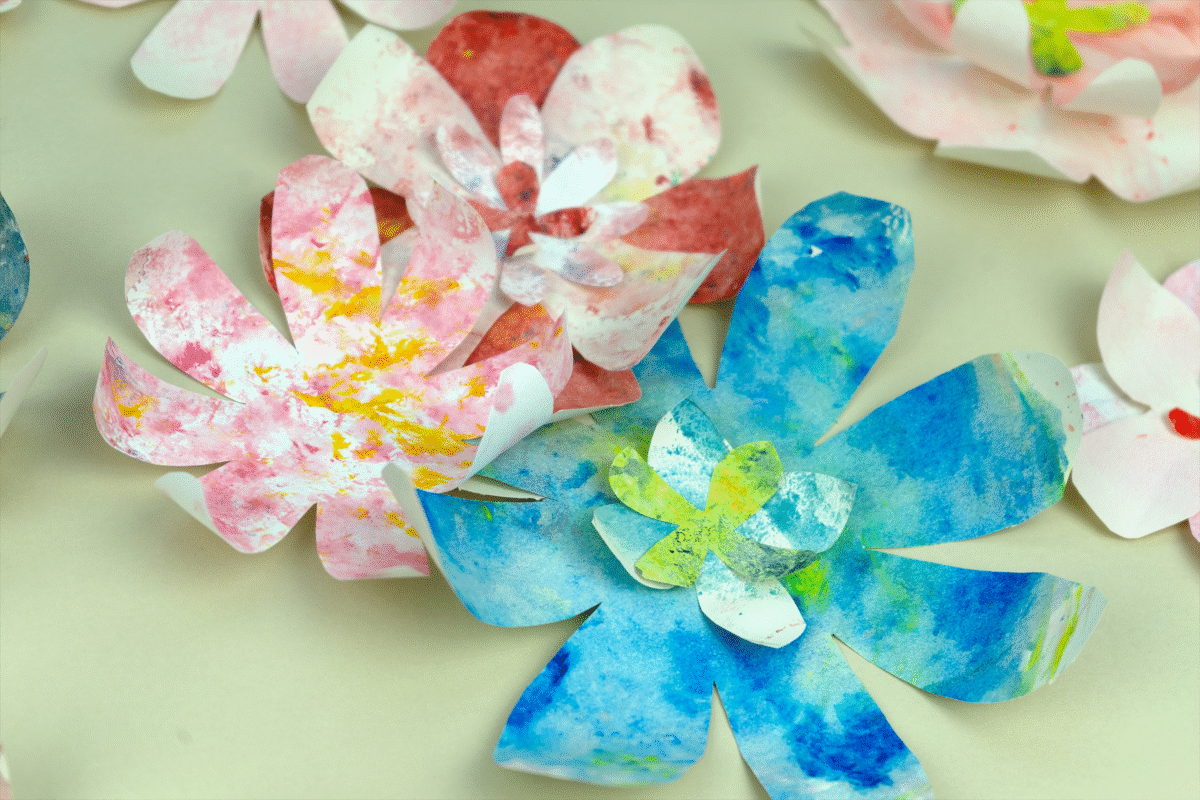
Step 3: Shape and Layer the flowers and greens
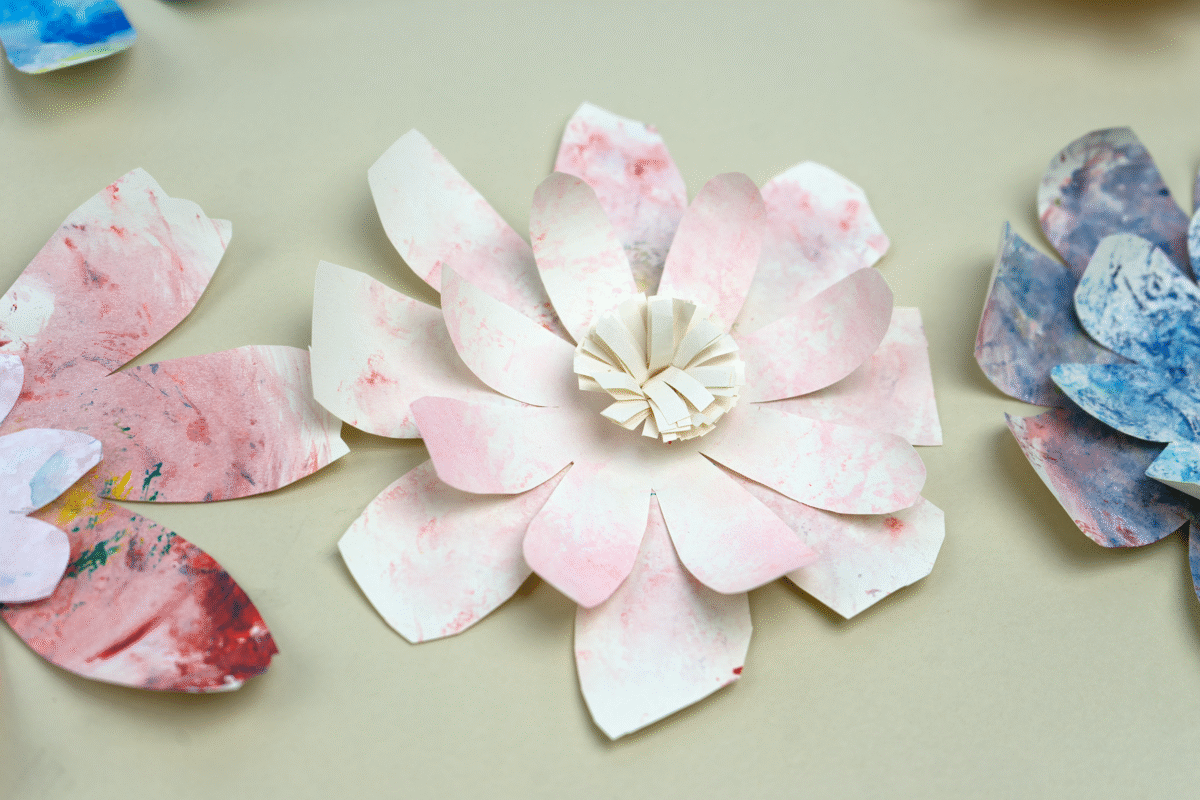
This step is not absolutely necessary, but we chose to shape the flowers a little by curling them with a pencil. Then we stacked and glued some of the flower centers to make a more full 3-D bloom.
This may have been my favorite step for my daughter and I. Since every flower was different, it was really fun to find pieces that pair together well. When we found a perfect and unexpected match we were both so excited to show each other.
Step 4: Decorate!
These hand-painted flowers are incredibly versatile. Here are just a few ways to use them:
- Garlands: string them on a twine to make a colorful banner
- Backdrops or wall decor: Stick on walls to make backdrops or decorations
- Centerpiece: Line them on the table to create a nice centerpiece or a runner.
- Gift Wrap: Use in place of bows!
To decorate our party, we made many clumps of threes and we put them up on the walls the entire house for her birthday.
We also put them on garlands as well. The kids were so excited to show her and she absolutely loved them!
This project is a thoughtful way to celebrate someone special, and doubles as a fun activity to do with kids. And the possibilities are endless! I can’t wait to make them again with a different color theme.
Let me know if you try it—I’d love to see what you create!